
Black Ops: Cold War OUTBREAK Ultimate Guide
Last Updated:

Credit: CallofDuty.com
The new zombies map, Outbreak, is one of Treyarch's most ambitious projects yet. After years of fans begging for an open-world zombie experience, Treyarch finally delivered, and the result is everything we had hoped for. Outbreak continues the dark aether storyline from previous Black Ops: Cold War zombies maps. Many aspects of Outbreak will be familiar to Call of Duty Zombies fans. The experience begins randomly in one of the three locations included in the map. Once you are spawned in you will be randomly assigned 1 of 5 main objectives. You will also encounter 4 bonus objectives along the way which give you free perks, weapons, and points. Loot boxes are hidden throughout the map, so make sure to clear each area thoroughly!
Locations:
Golova:
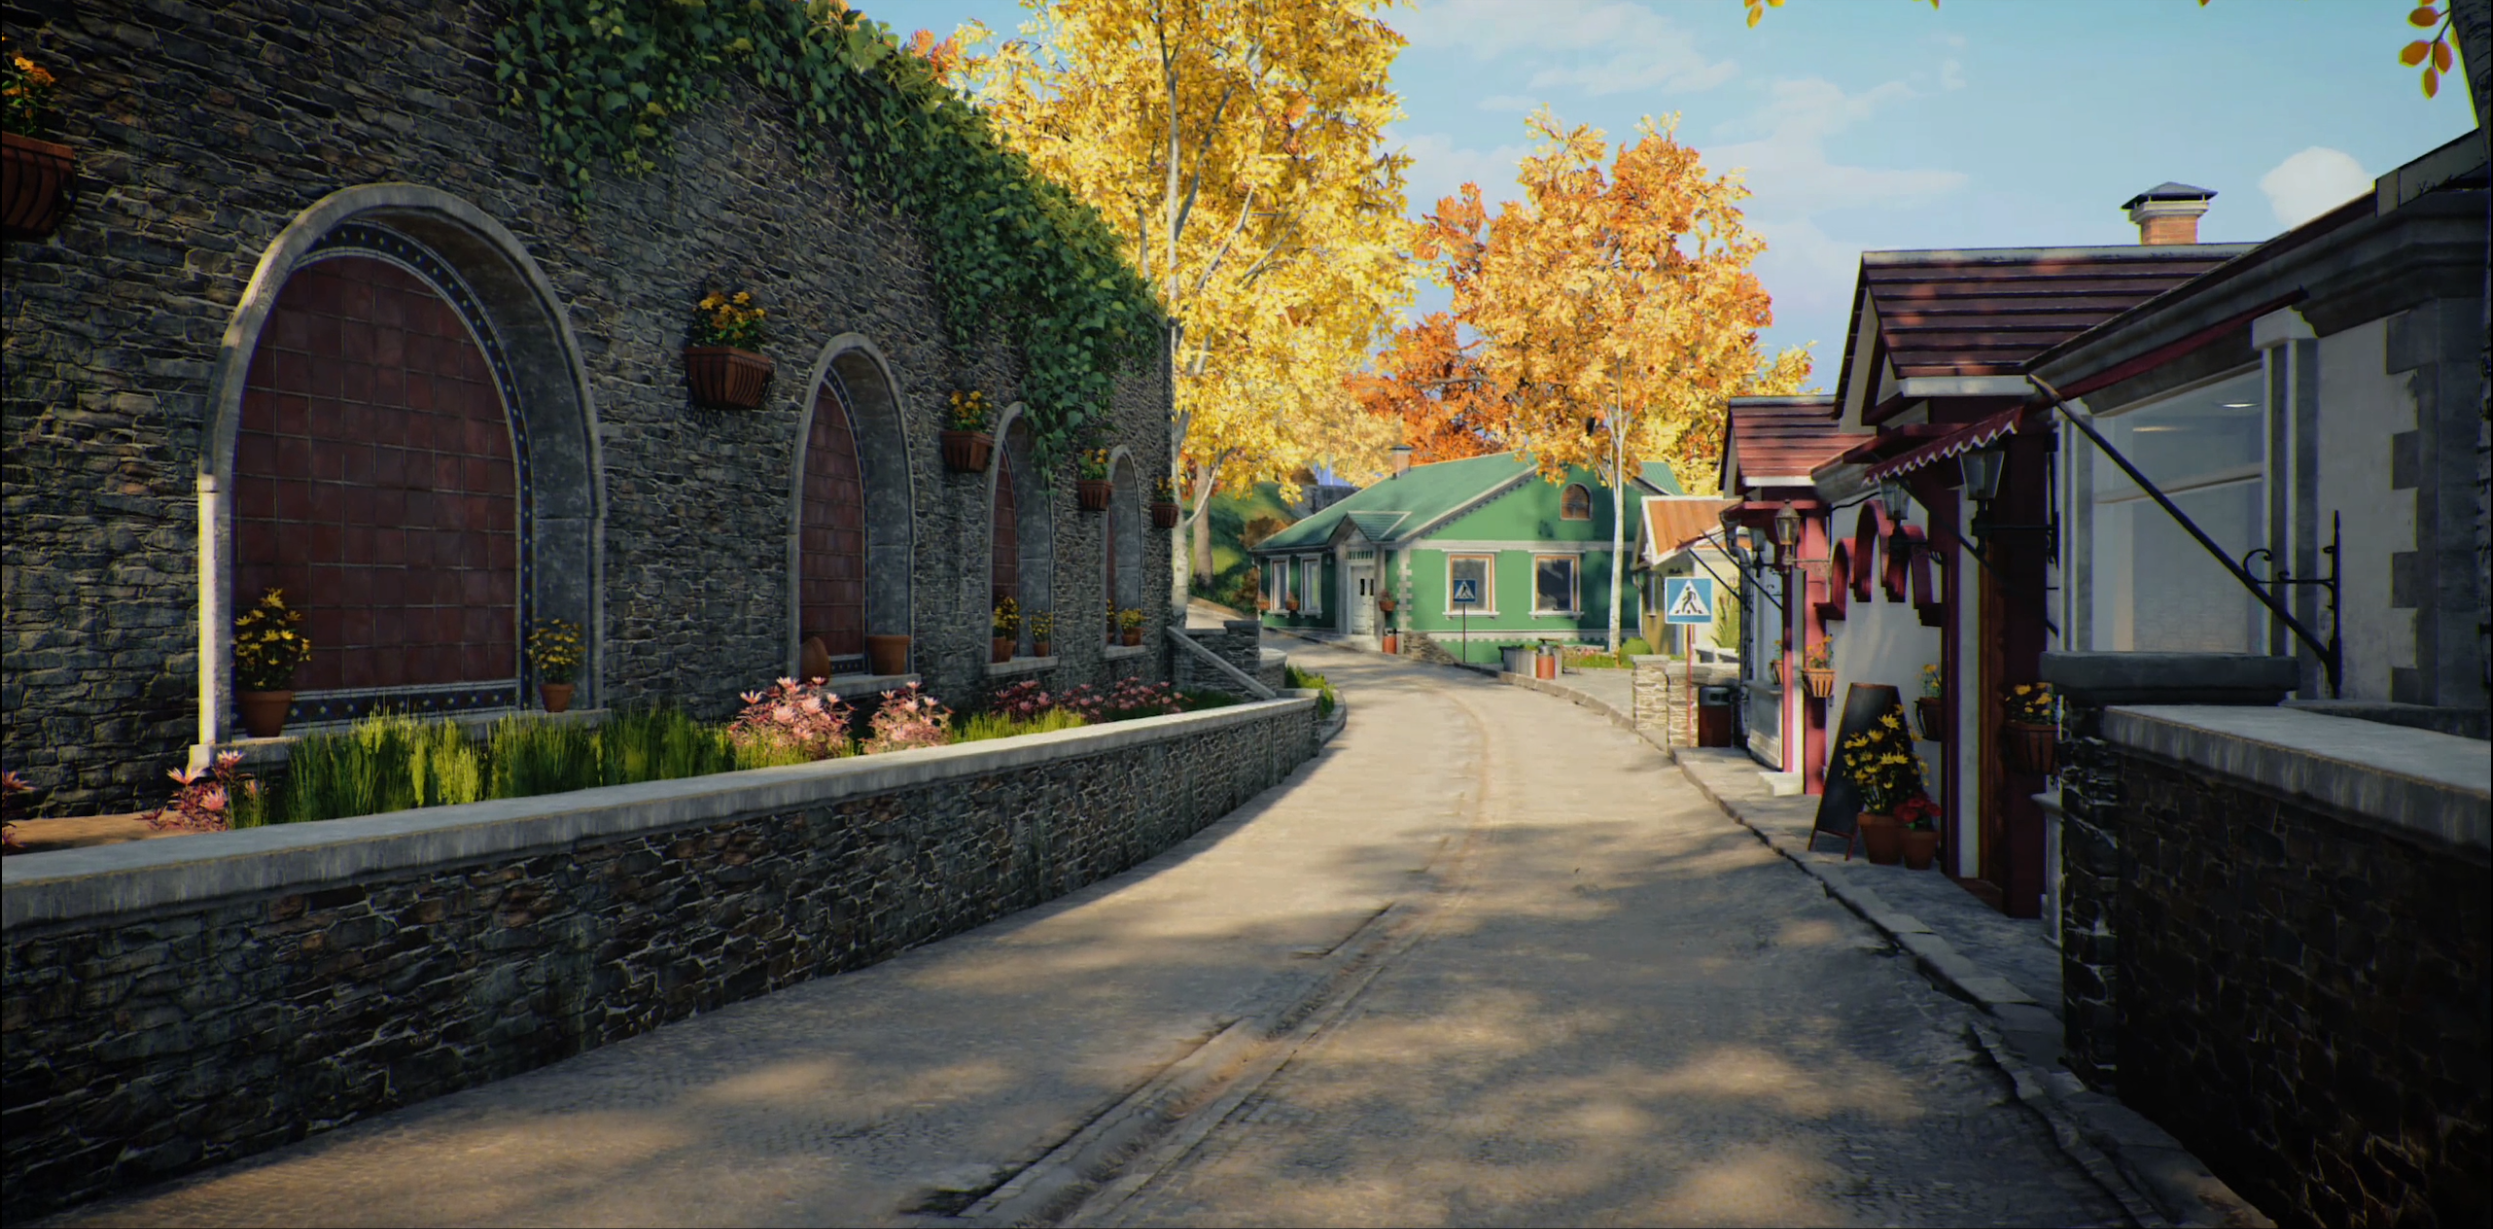
Golova is a scenic location with rolling green hills and quaint towns. It would almost be relaxing if not for the soviet flags and hordes of zombies. This may be the easiest location to survive in. The open landscape provides better visibility, but you will have more trouble staying alive in the large church in the center of the main town that you will complete main objectives in. Cars are scattered throughout the map and can be very helpful.
Ruka:
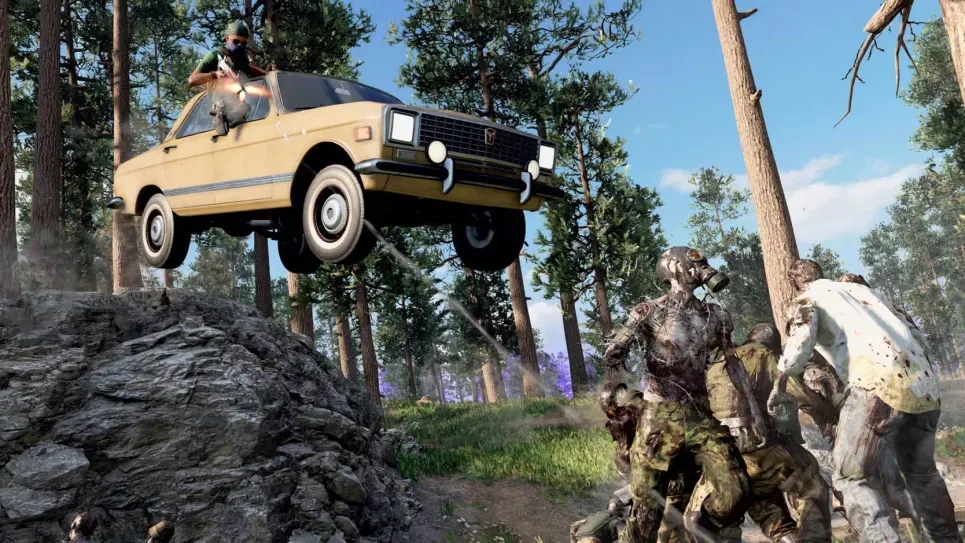
Thick woods and greenery. Avoid confronting zombies inside of smaller buildings. Vehicles are placed around the map which can help you and your team travel quickly and safely. Be careful, some bosses can blow up your car rather quickly.
Alpine:
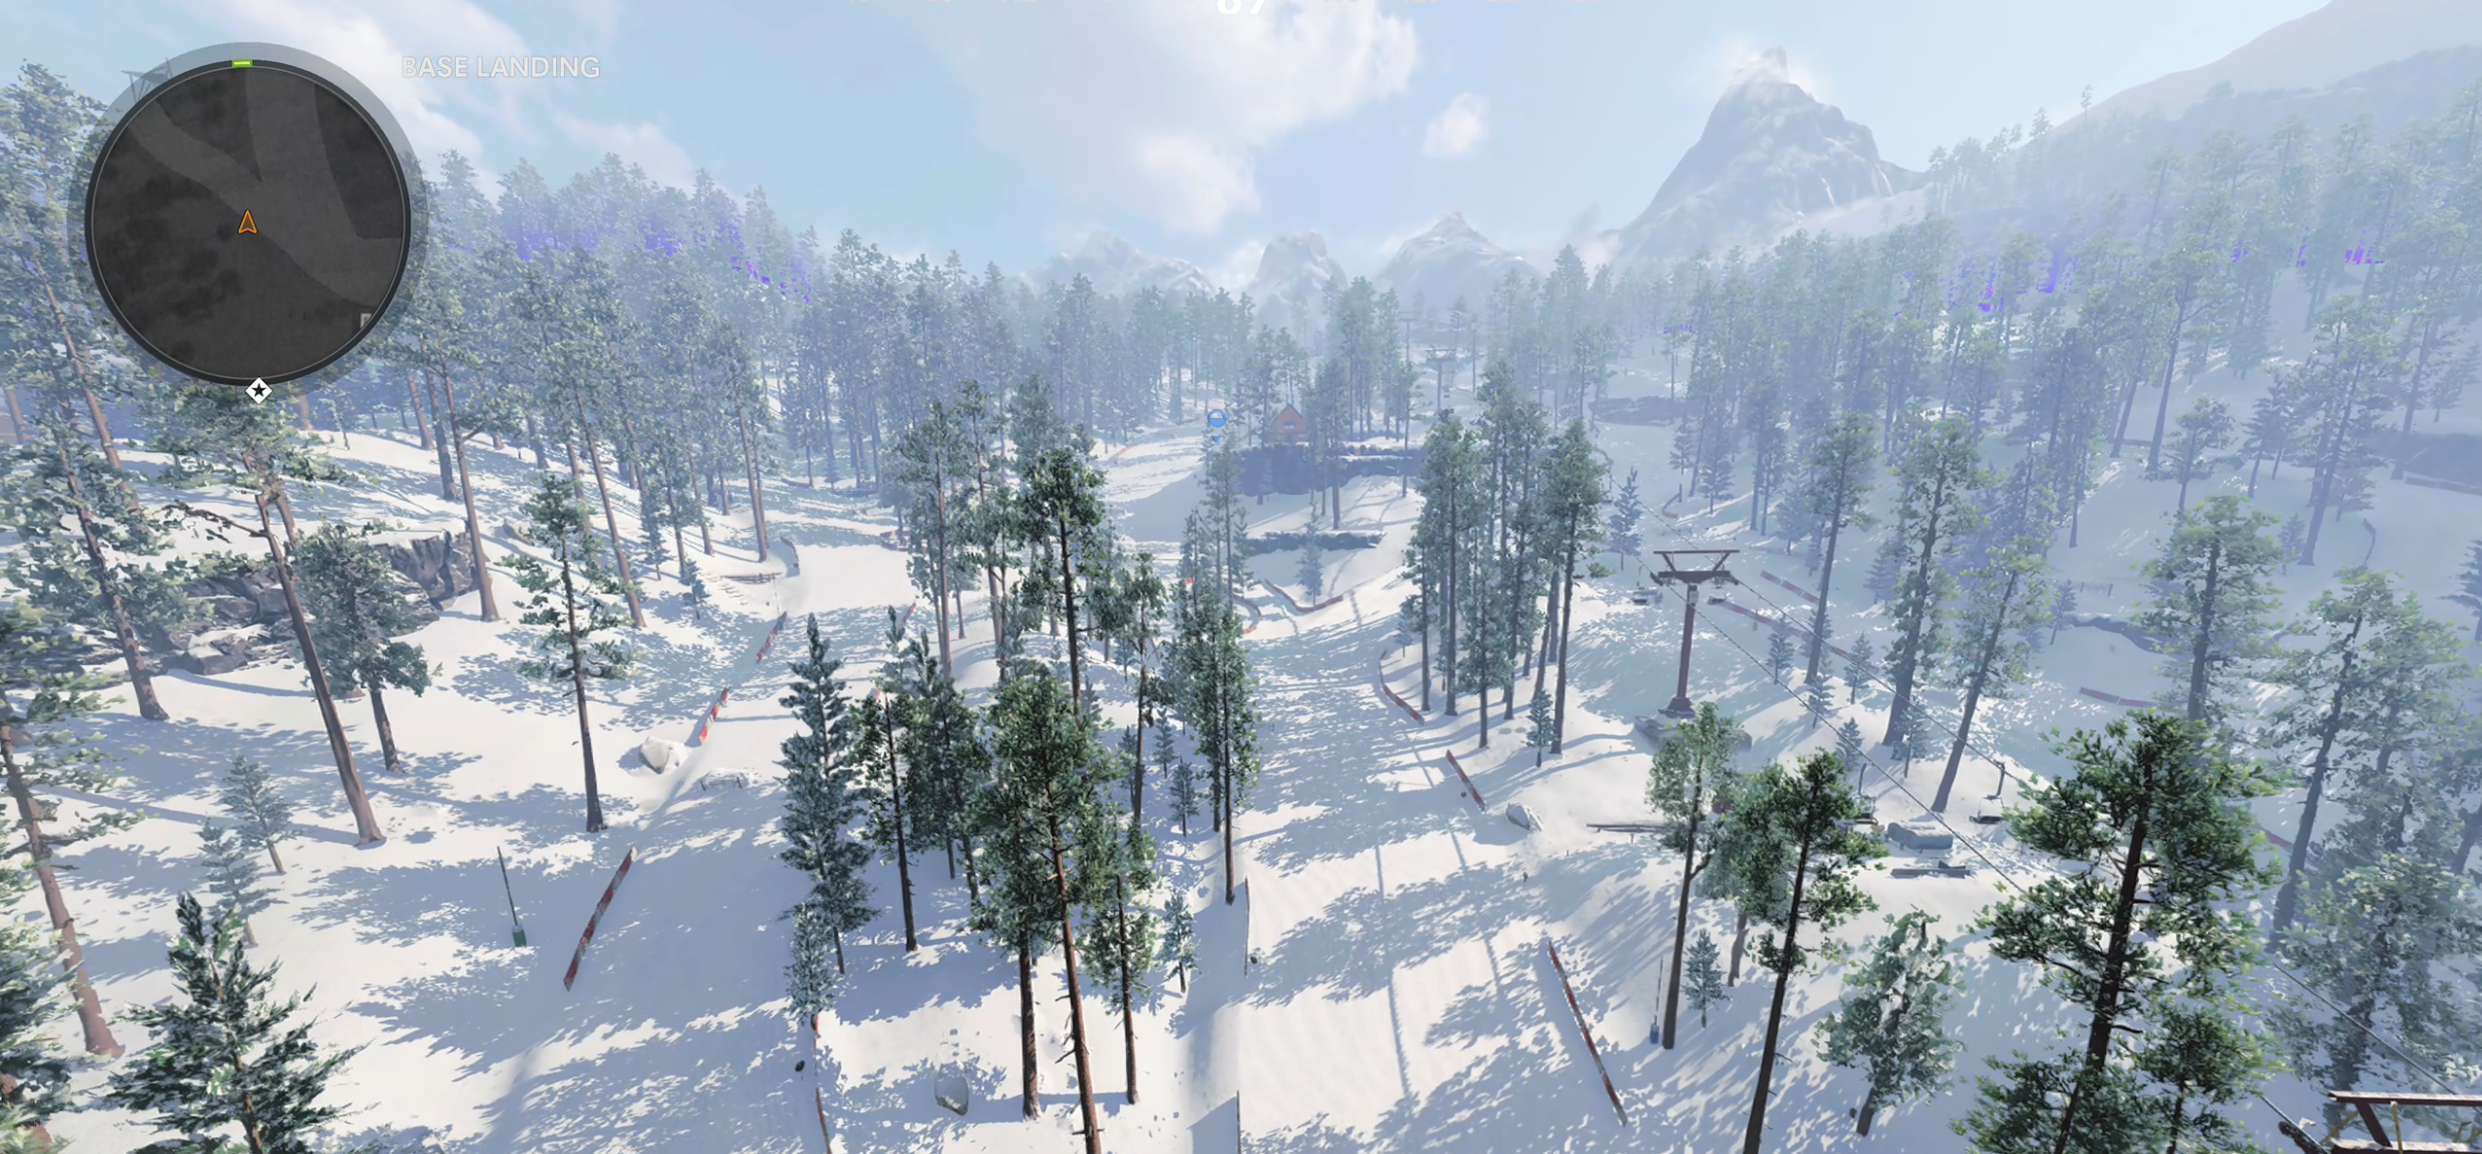
A large snowy map. Make use of snowmobiles and jump pads to travel quickly. The main objective is often in the large lodge at the bottom of the slopes. Stay close to your teammates and keep moving if you are fighting inside of the lodge. It’s easy to get cornered or surrounded by zombies in the staircase. Using your parachute is key to completing this area successfully.
Main Objectives:
There are four main objectives in Outbreak that you will be completing. It should be noted that if you start an objective and fail to complete it, the game will end. Each objective is random, meaning you will encounter every objective at all three locations if you play long enough. The location of each will change as well, and some are harder than others.
Escort:
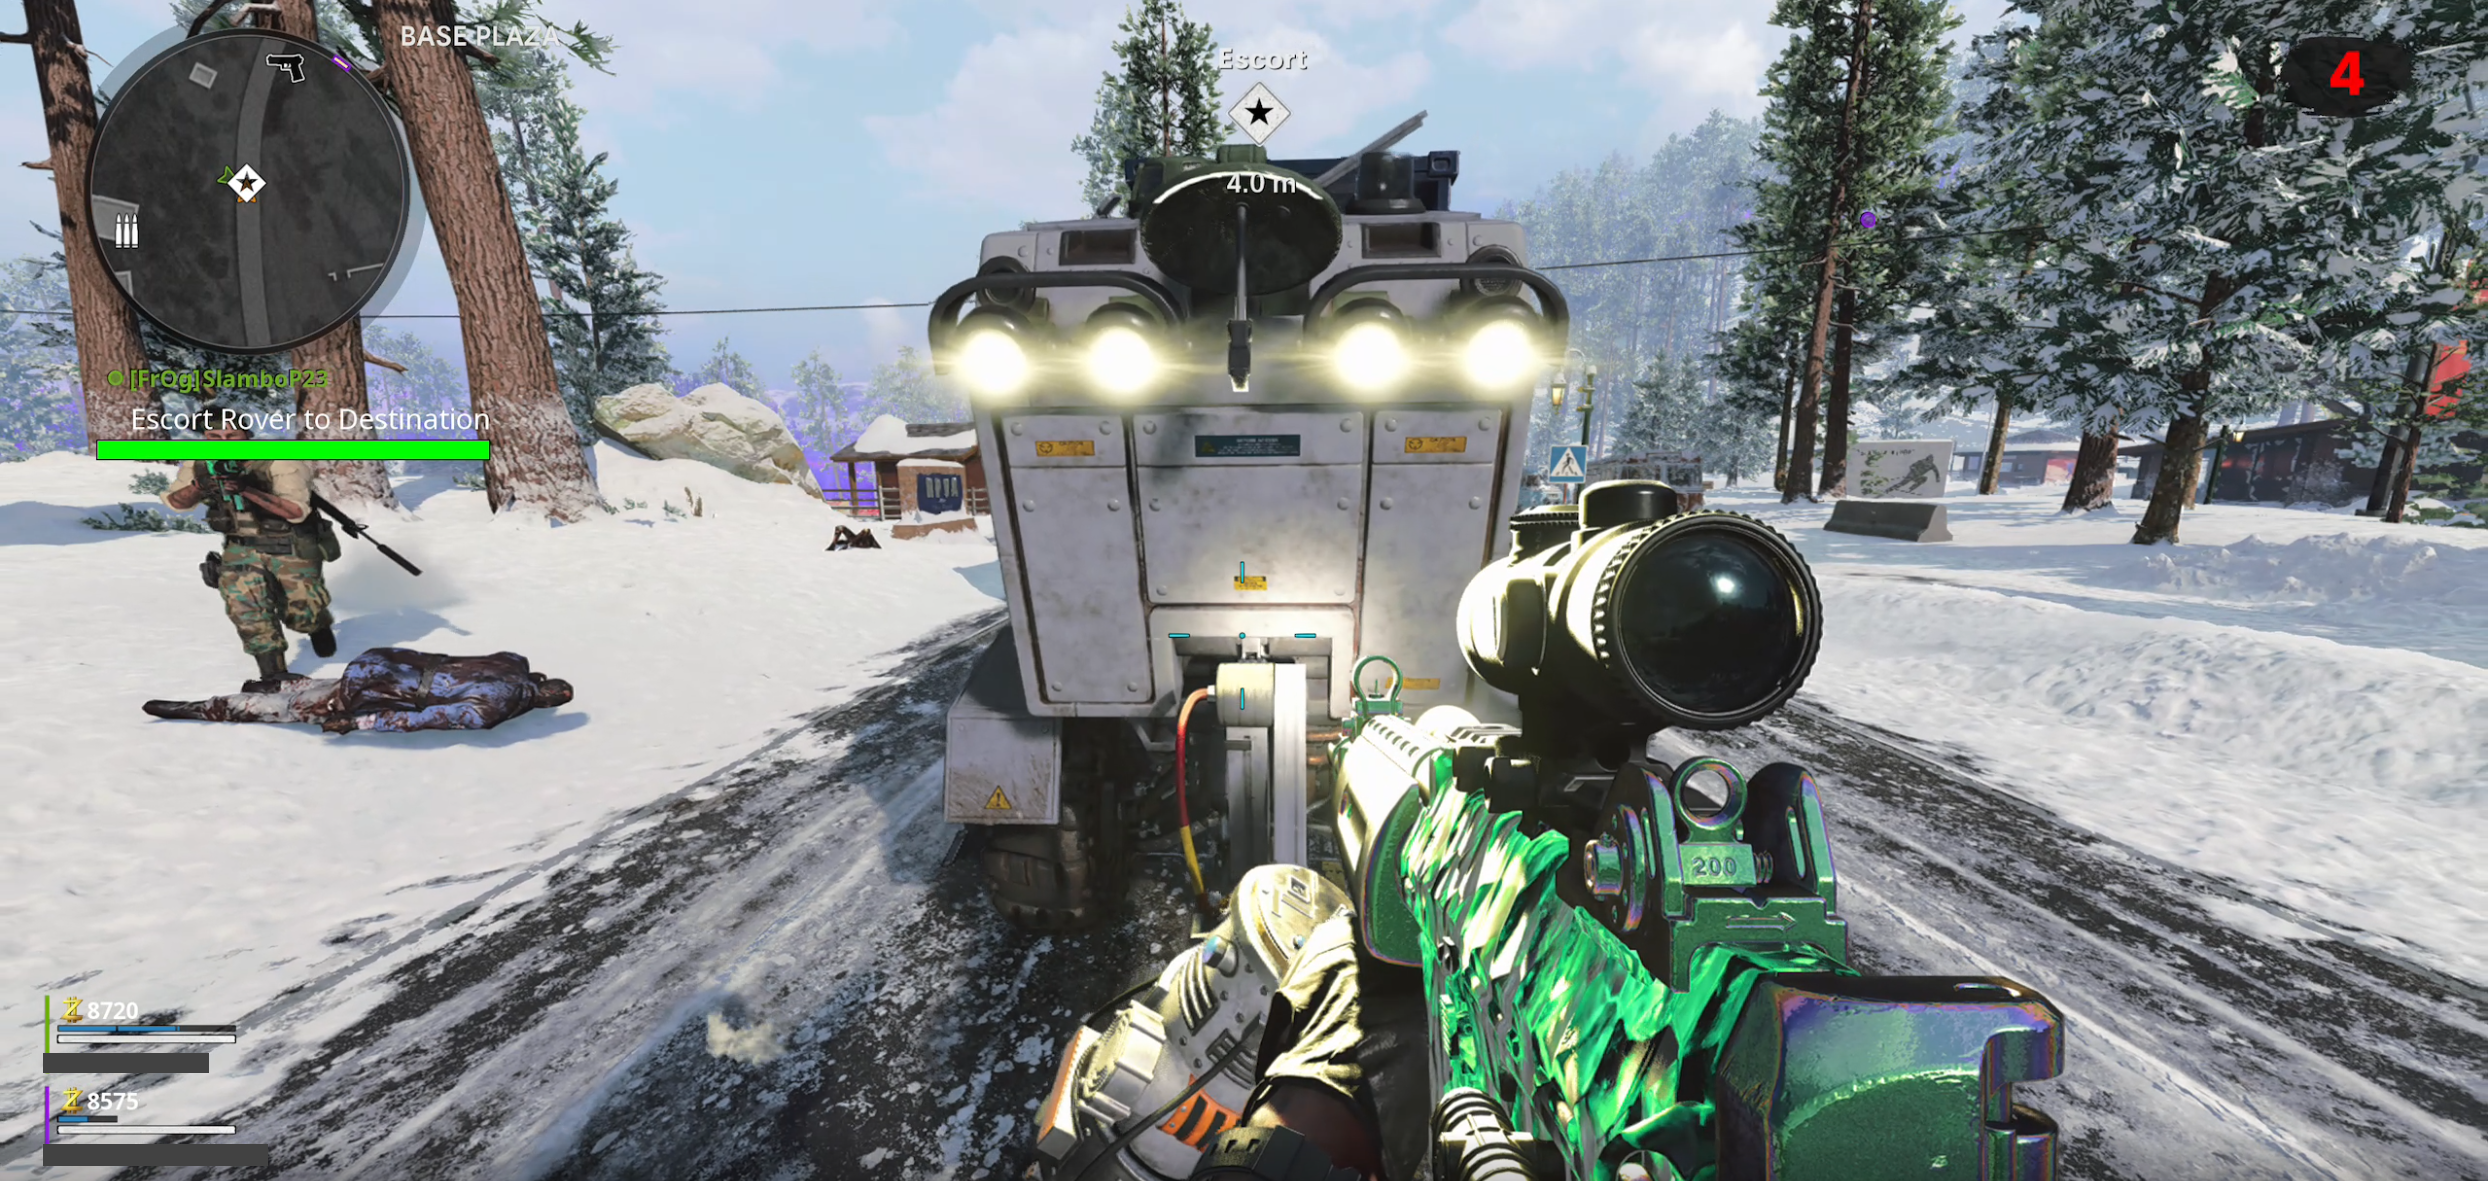
The Escort objective requires that you travel to a box truck which houses a rover. The rover will emerge from the truck and start making its way up the road and it is your job to kill that zombies that are trying to stop it. The rover will be stopping to collect the dark aether portals in its path. Once the rover has collected three portals, the objective will be complete.
Eliminate:
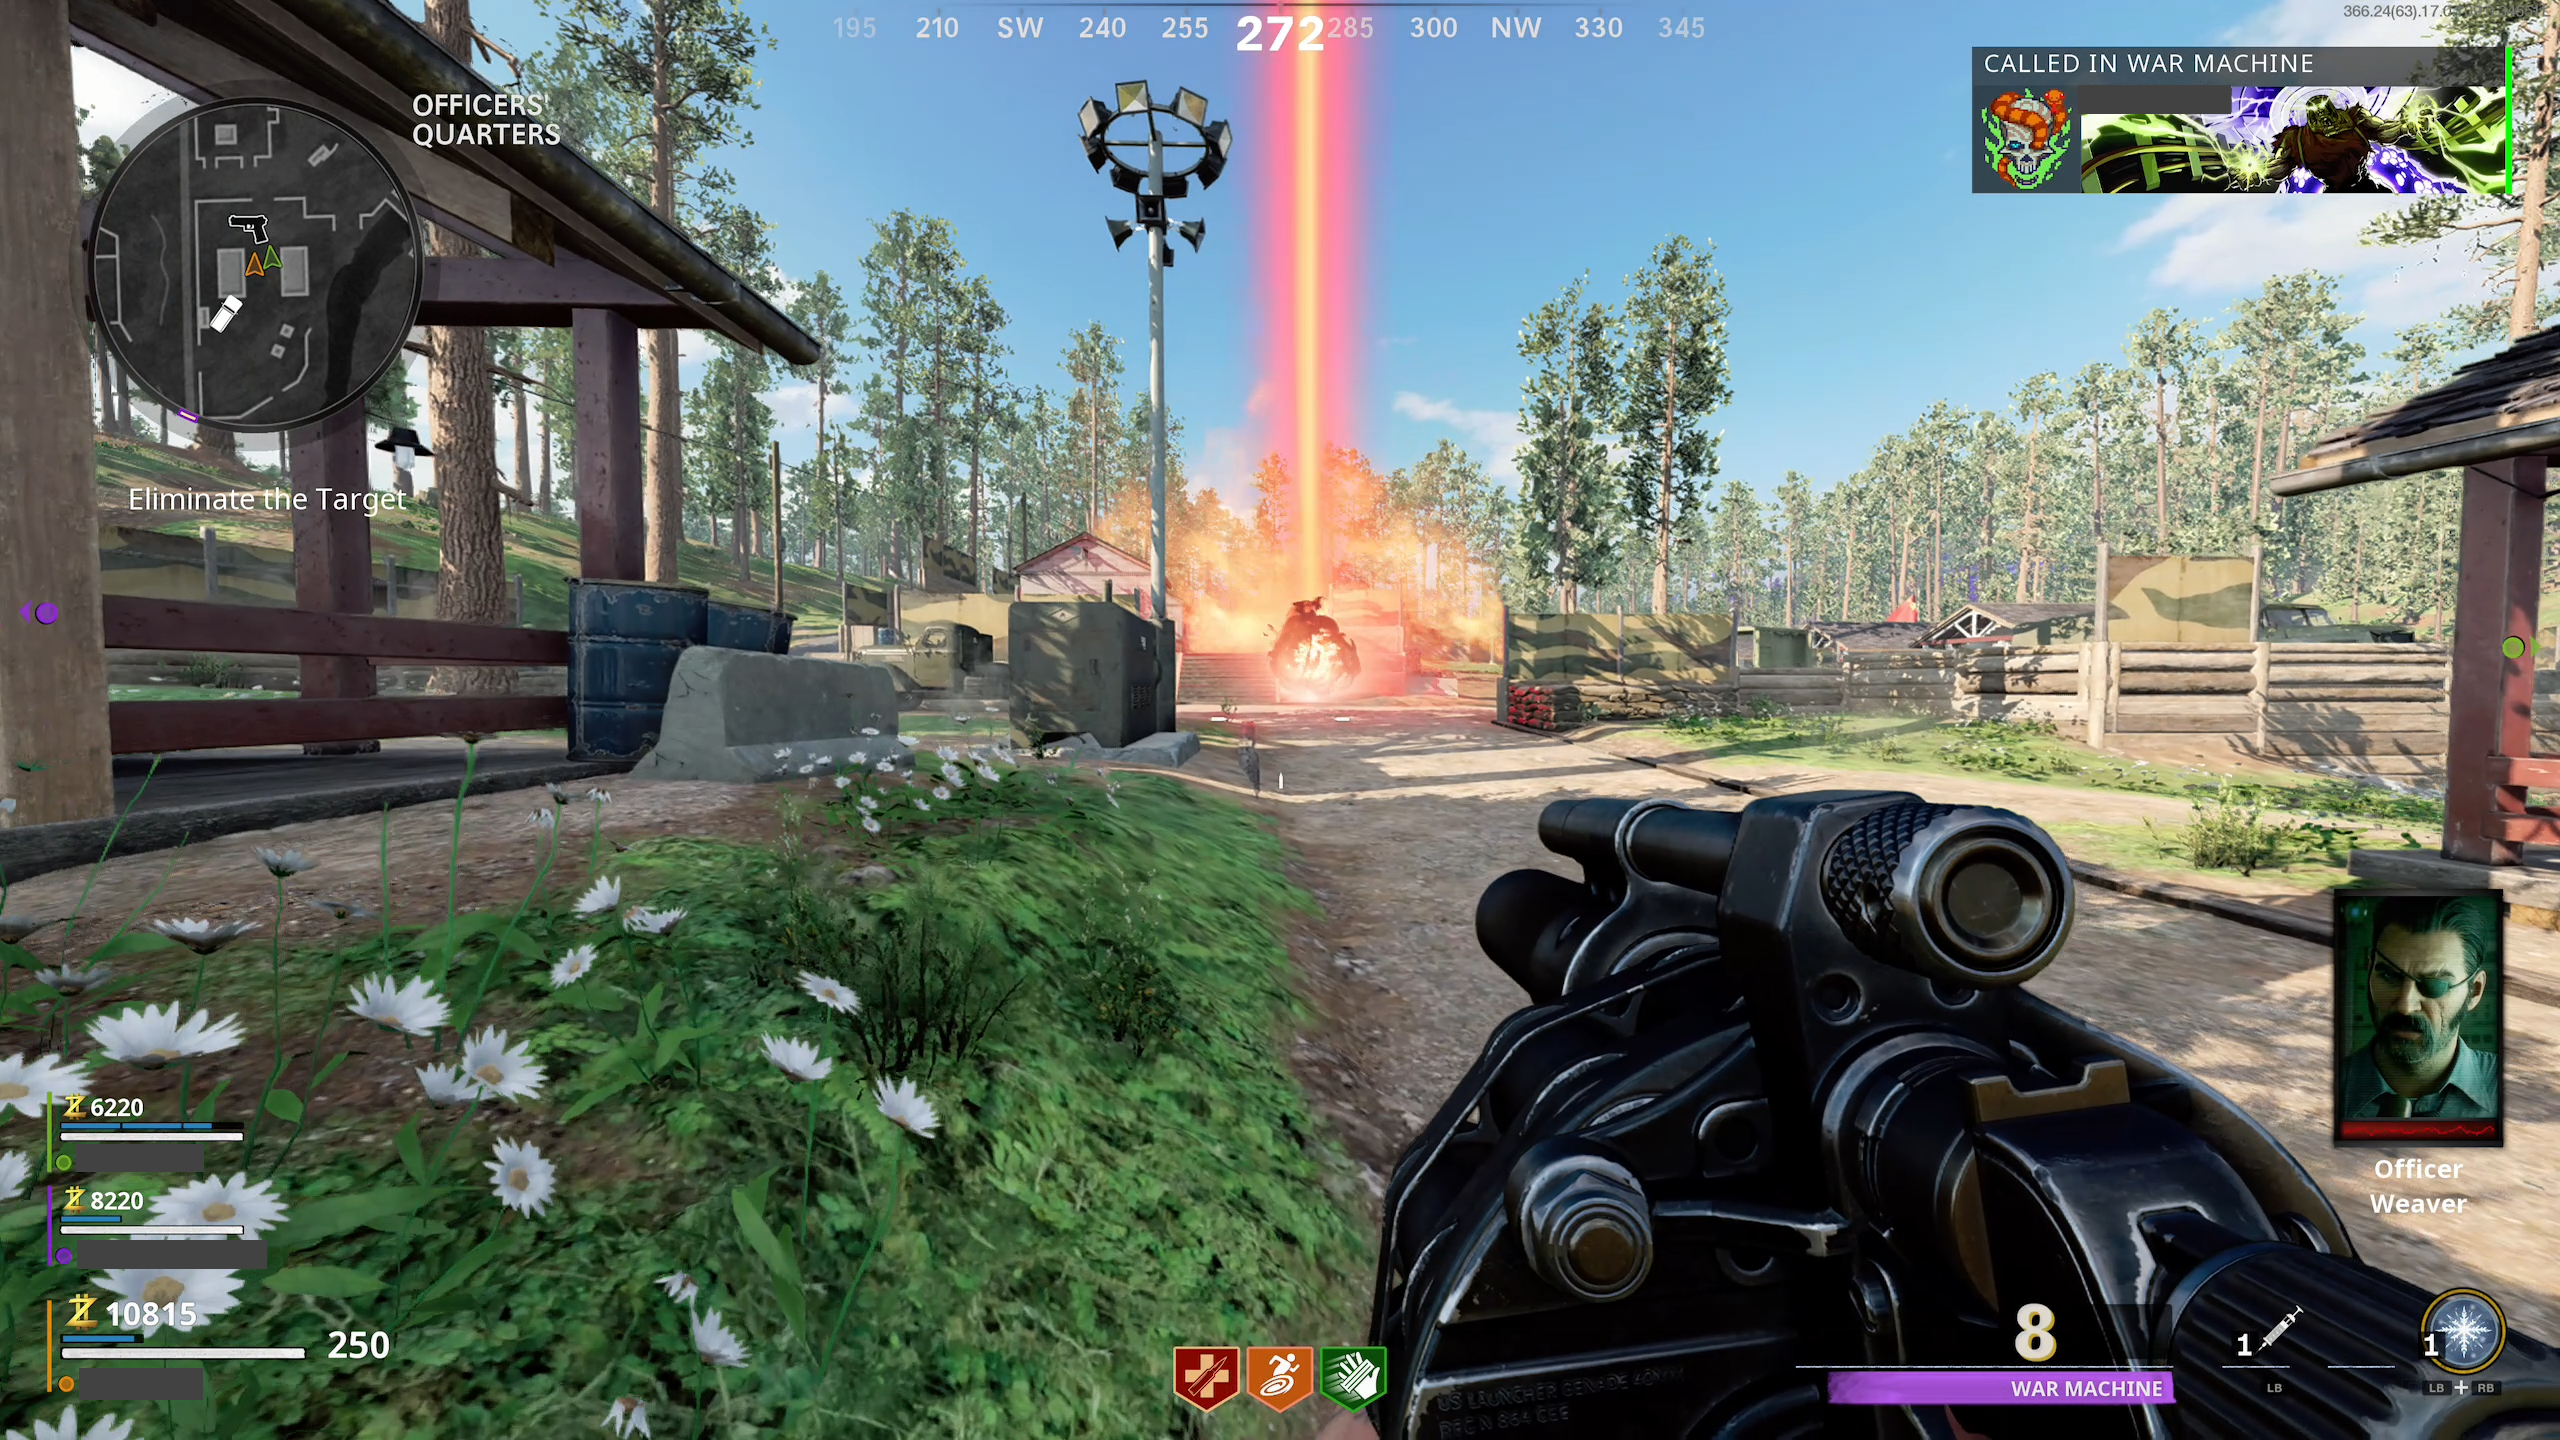
Eliminate requires you to travel to a location where a you will approach the terminal and press a button to "Fire Dimensional Disruptor". You will then be directed to kill a "High Value Target" or HVT. The high value target is a large boss zombie called a 'Panzer" in previous Call of Duty games. This boss has a large health bar and deals a lot of damage. The Panzer's jetpack ability allows it to fly into the air quickly and land right on top of players, the best way to avoid this is by running away when it uses this ability. Each time the Panzer loses 1/3 of it's health it will turn into a dark aether orb and fly away from the area. Players must chase it to the next location. This will happen twice and you will kill the Panzer and complete the objective at the third location.
Defend:
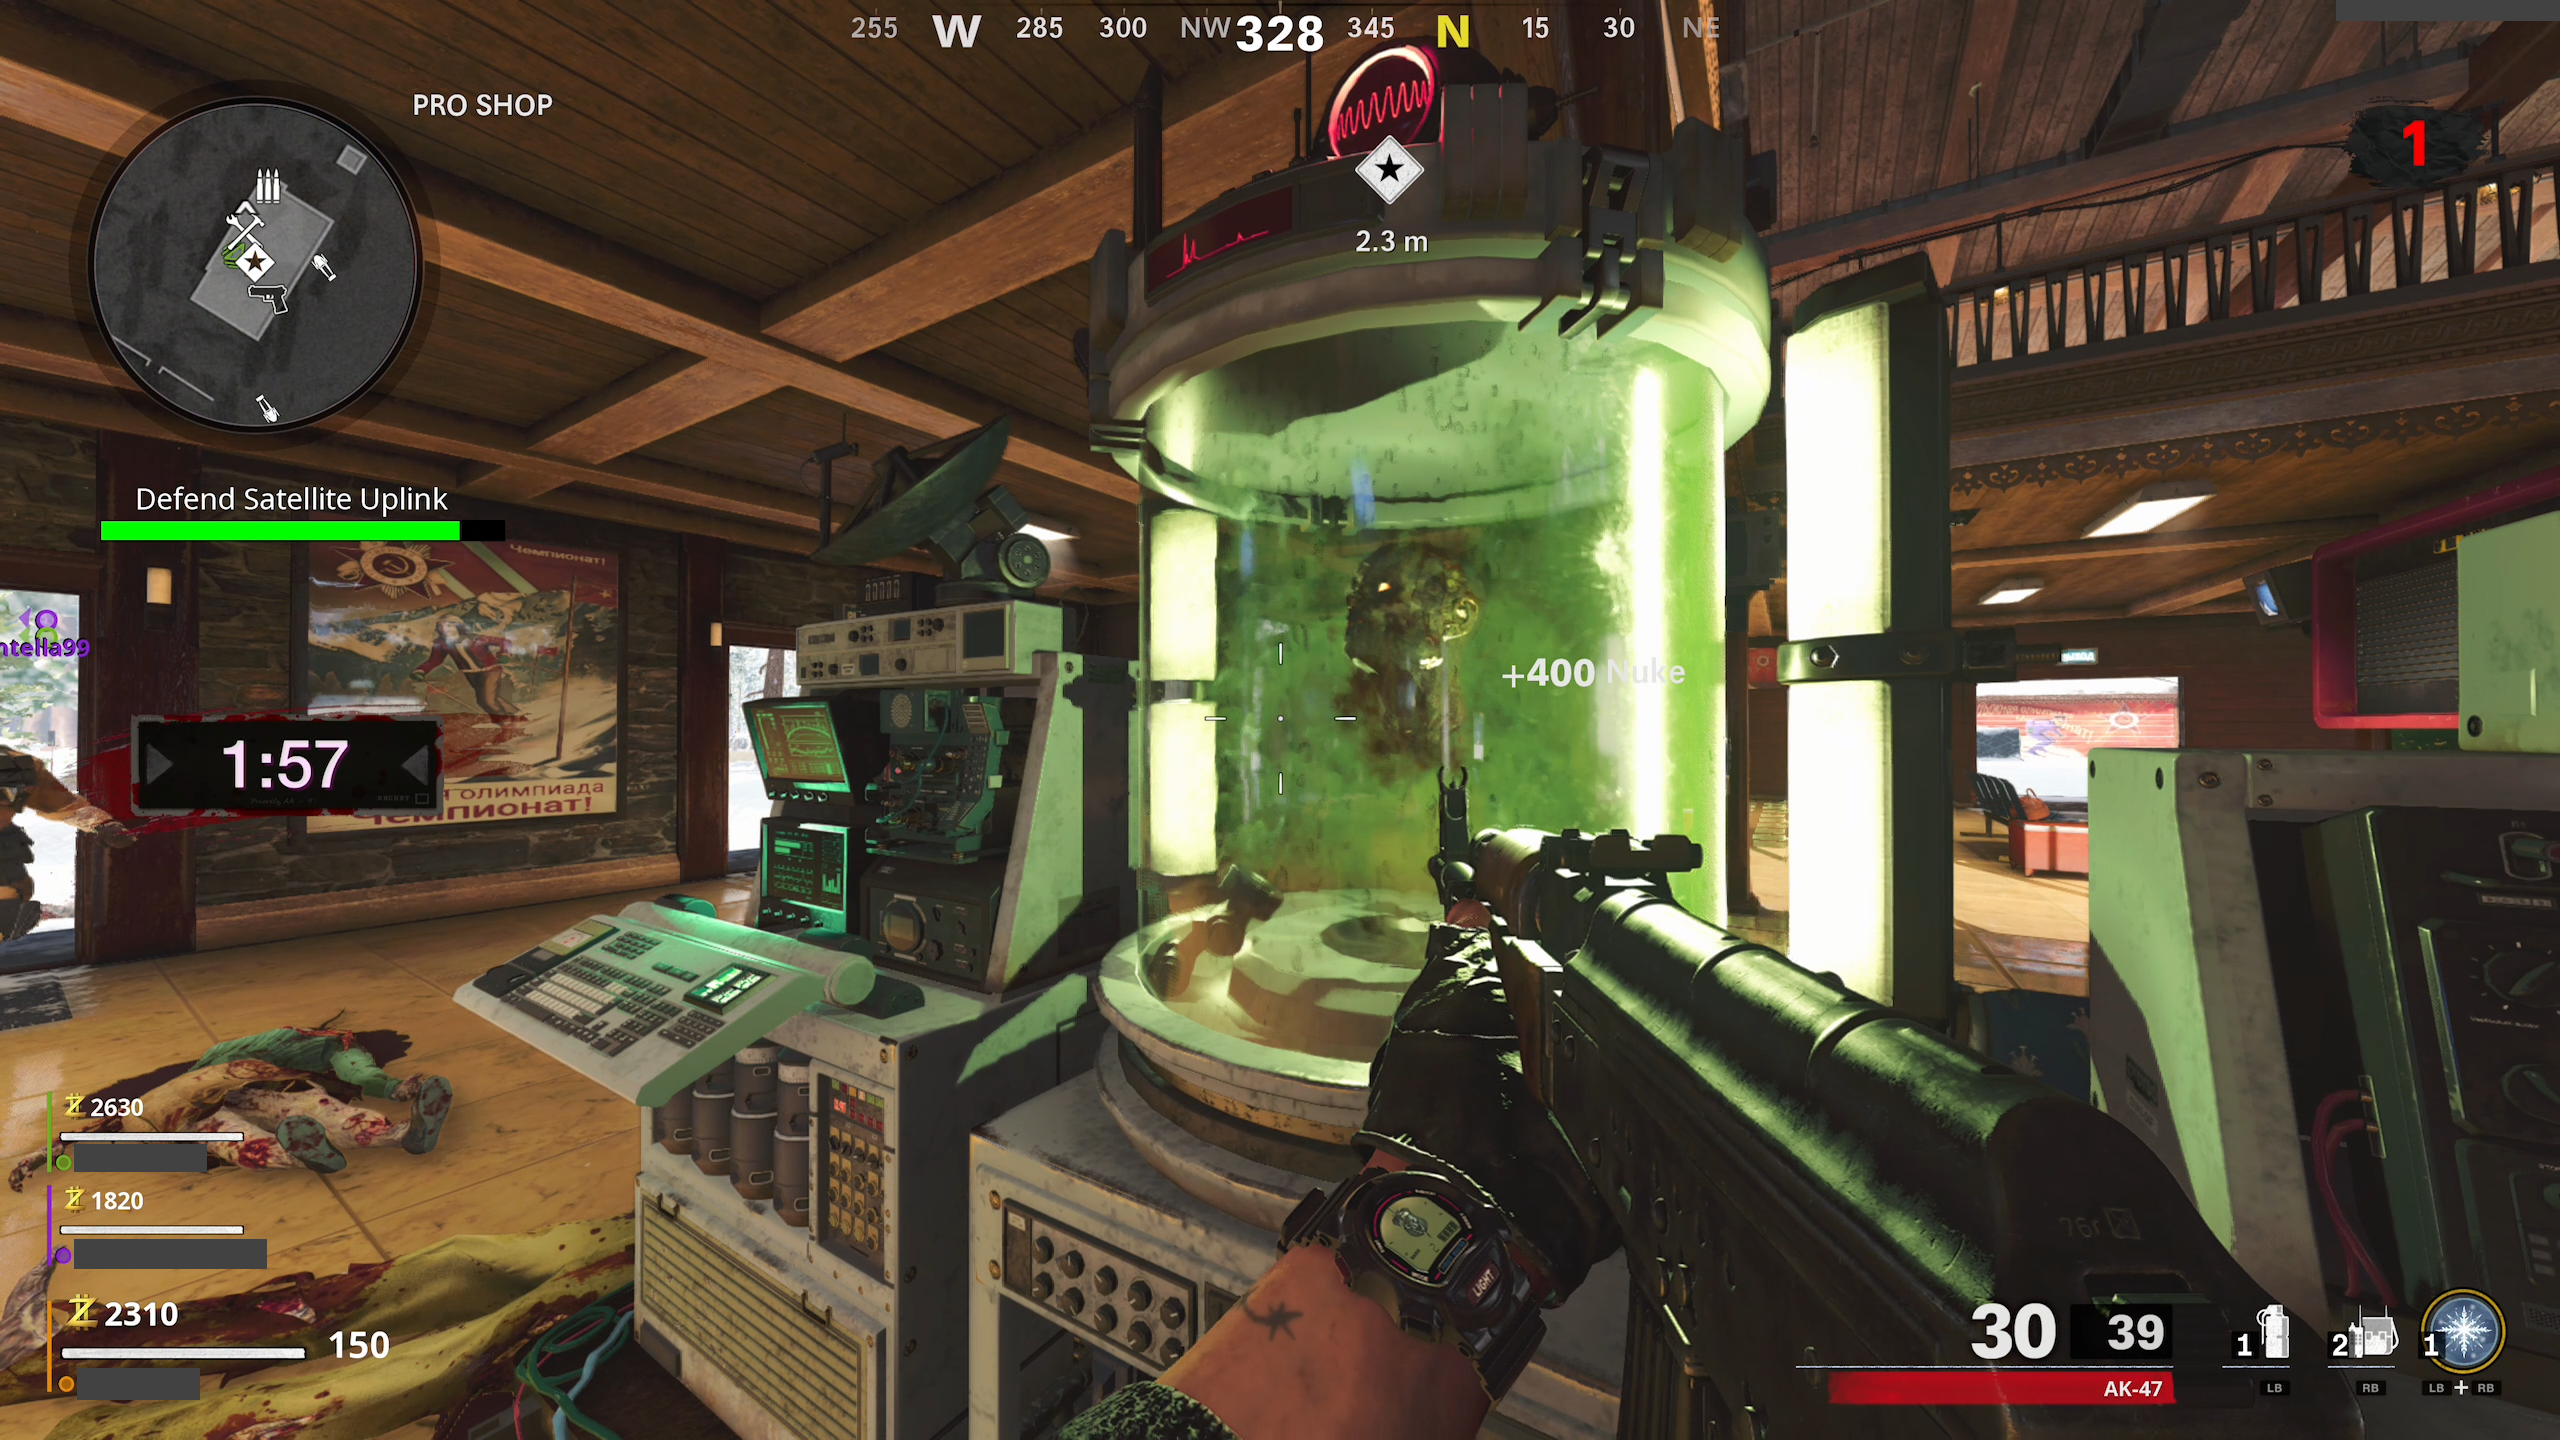
For this objective you will travel to the marked location where you'll pick up a severed head called the "specimen". You'll place the specimen in a machine called the analyzer and defend it from attacking zombies until the timer reaches zero. The specimen will periodically summon more zombies by letting out a horrible noise.
Retrieve:
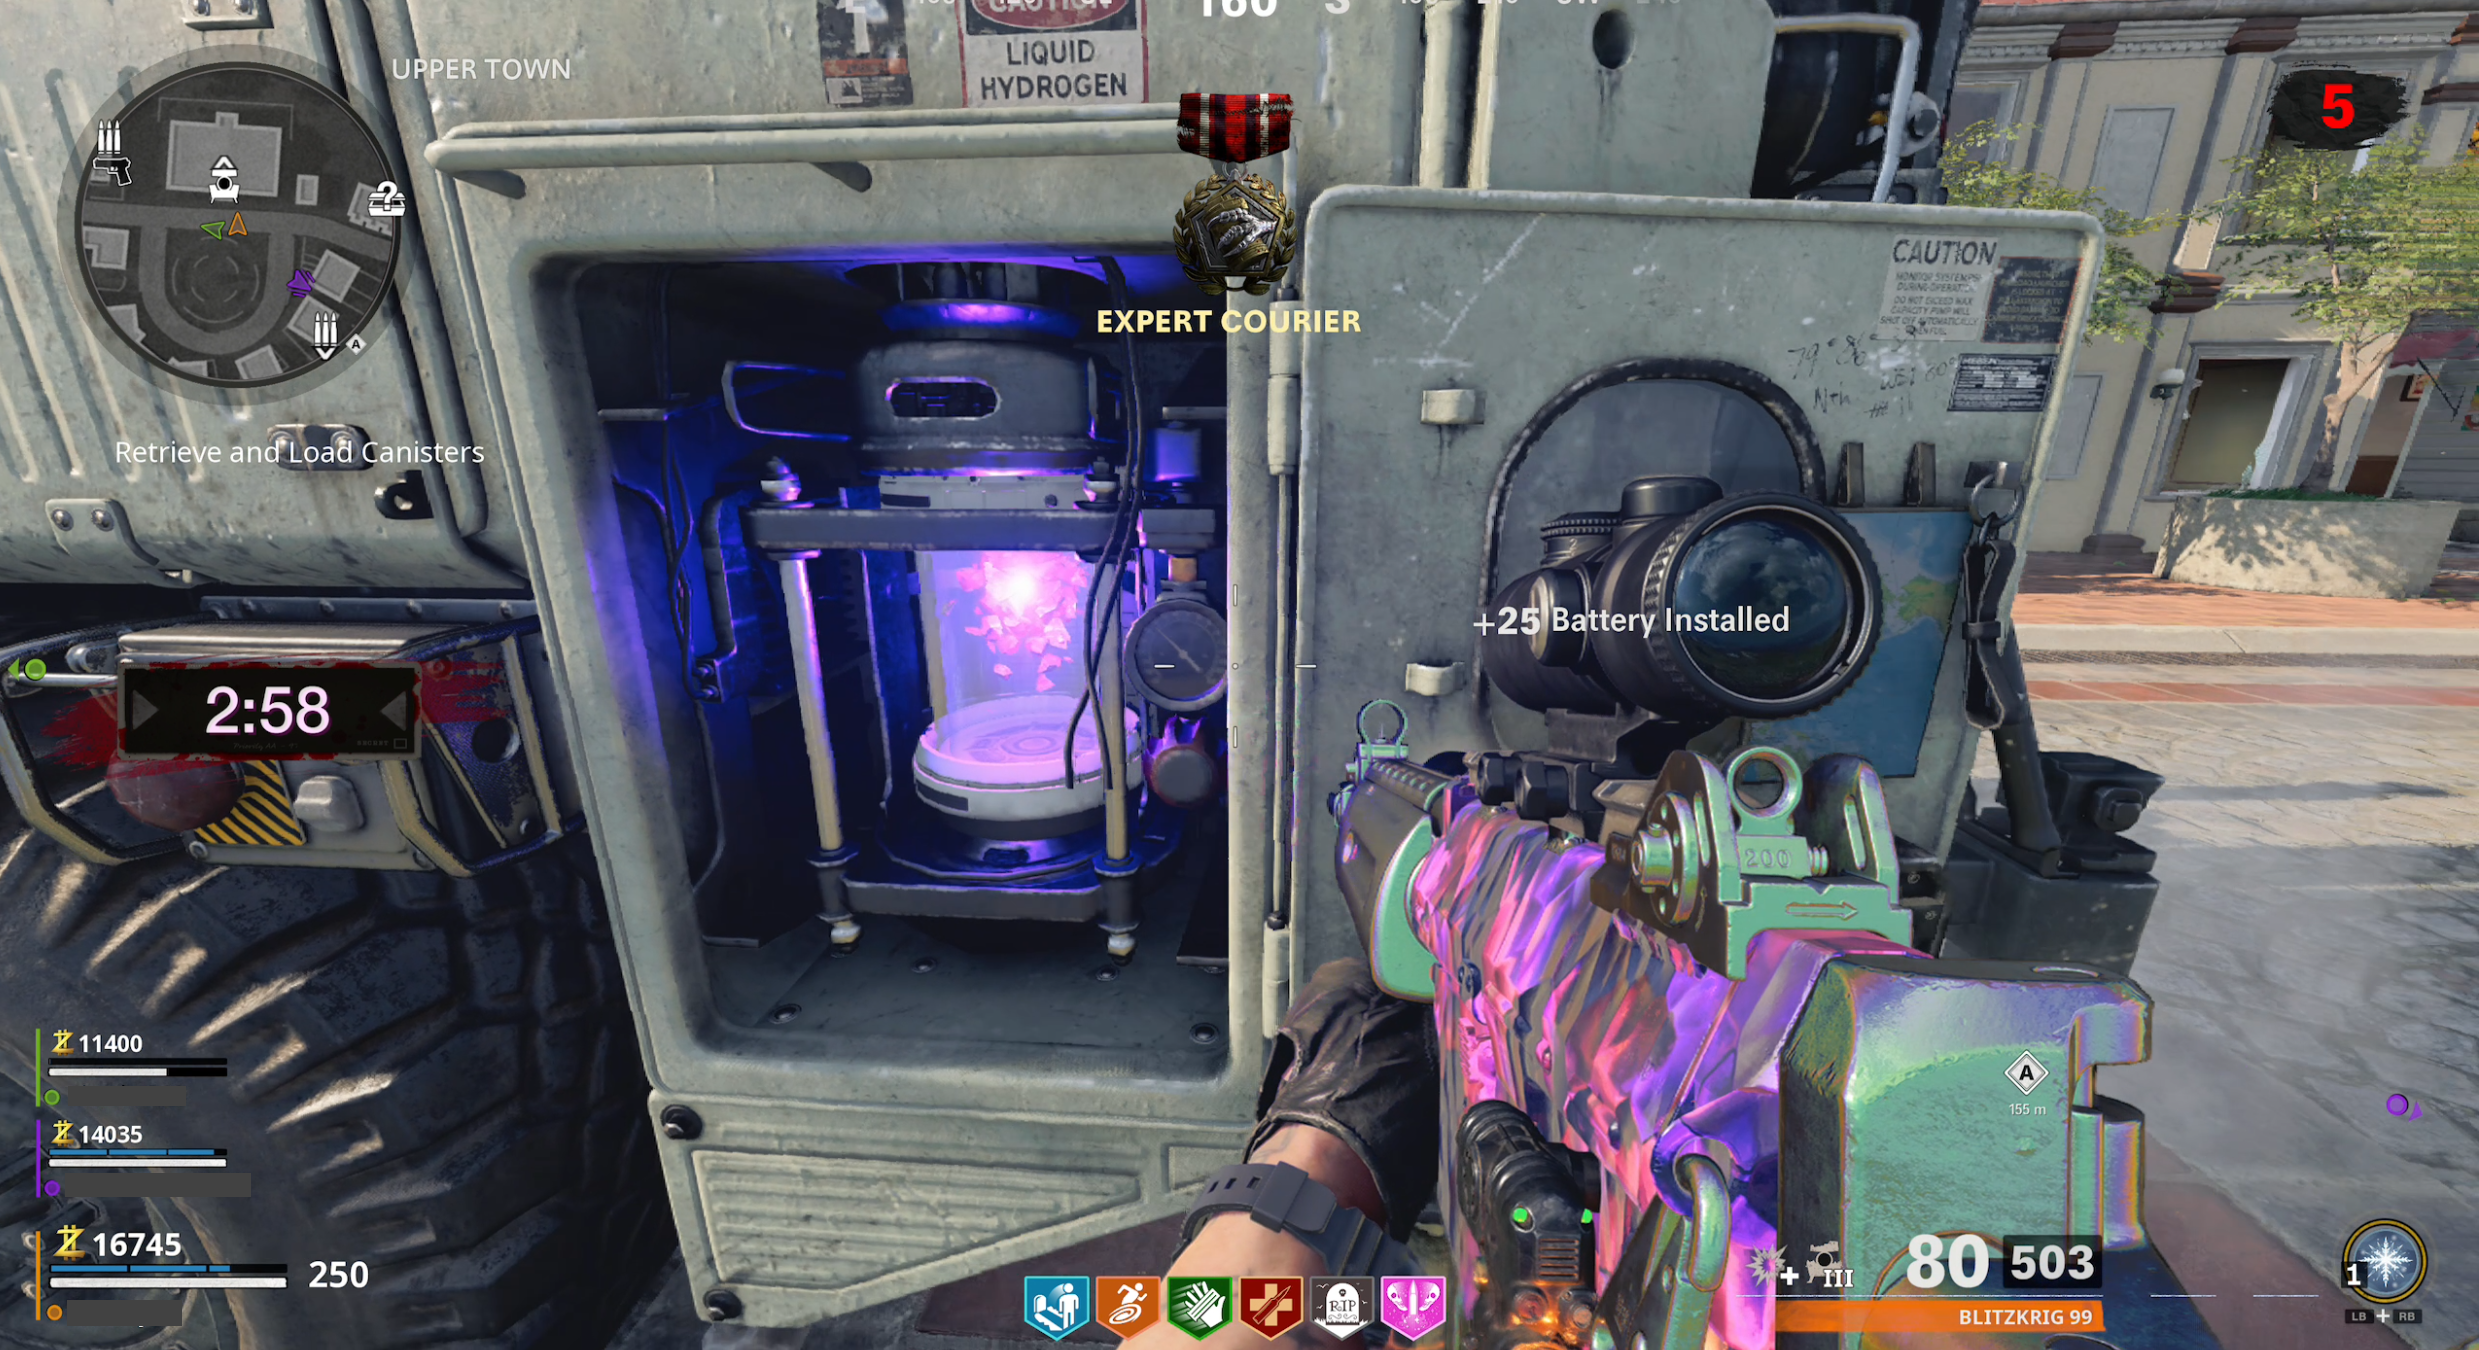
Retrieve can be very difficult in higher levels. You will be prompted to go to a large tank-like vehicle with a rocket mounted to it. You will approach the vehicle and press the button to "Initiate aetherium collection". After this, two objectives will appear labelled "A" and "B". You will have to retrieve the aetherium canisters at these points and bring them back to the vehicle. You will be forced to move very slowly but will gain a special ability while holding the canisters. You can use this ability by pressing the lethal and non-lethal (LB+RB) buttons simultaneously. The ability will kill and push back any zombies surrounding you. Use this ability sparingly, as it has to recharge before you can use it again. After placing both canisters in the vehicle, a missile will launch from the top and the objective is complete.
Holdout:
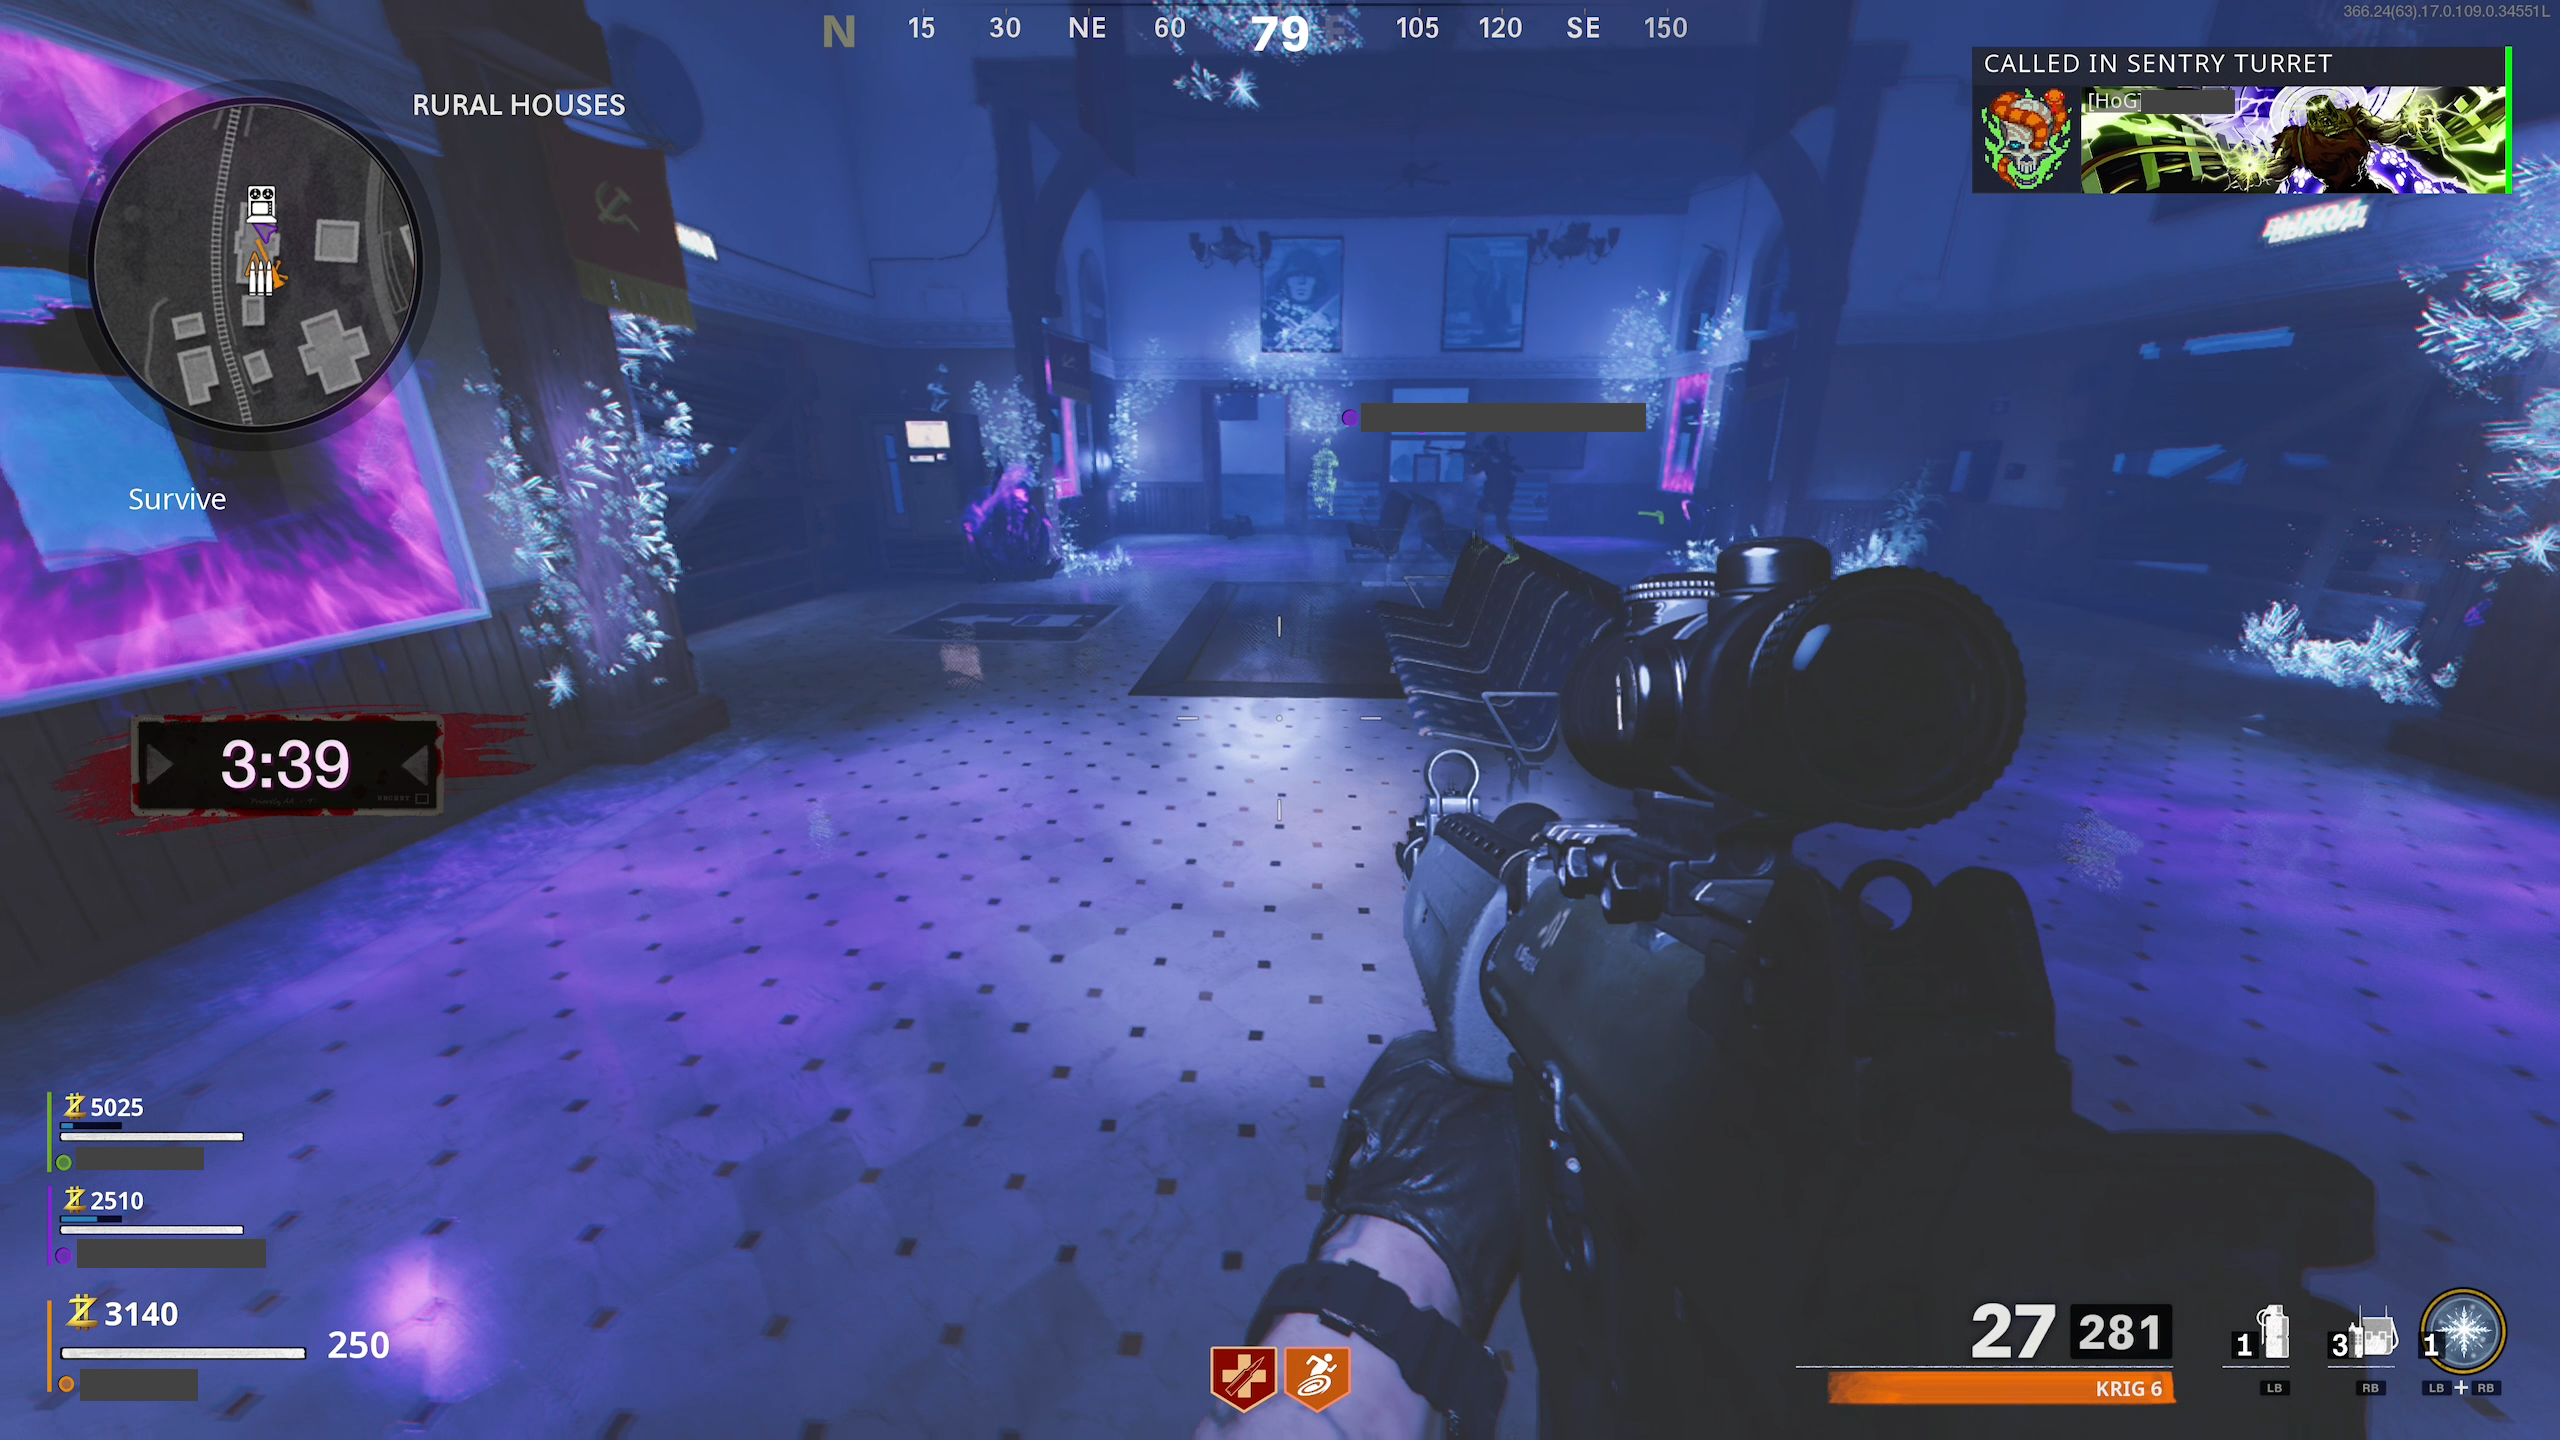
Holdout is possibly the hardest objective in the game so far. You will have to travel to the objective and approach the gigantic dark aether cystals. Press the button to "plant explosives" on the crystals and step away. You will then be transported to a room in the dark aether where zombies and bosses will attack you. Try to keep the windows boarded up while killing the zombies and remember to keep checking each window. If you are playing with friends, we recommend assigning a couple windows to each player so you aren't running into each other.
Beacons:
![]()
Beacons appear after you have completed an objective and allow you to teleport to the next area. They are marked on your map as "Anomaly". After activating a beacon a workbench, pack-a-punch, and a crafting table will appear. Don't forget to grab a cold one from the Der Wunderfizz! You deserve it.